Introduction
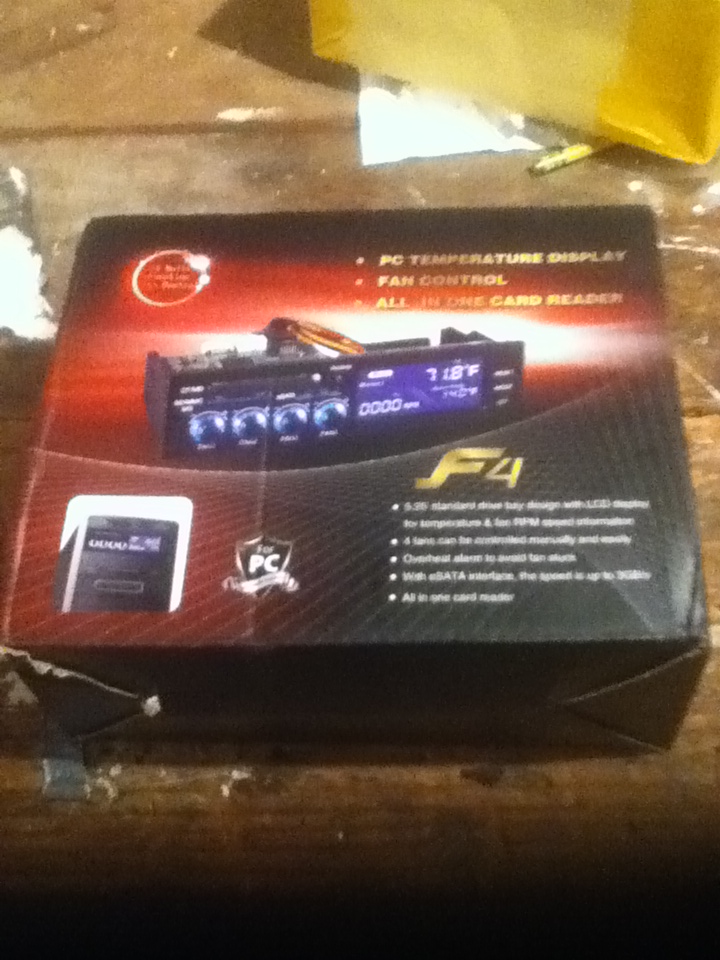
The outer box of the STW-ICR-022.
I recently came across an inexpensive fan controller on eBay, so I thought I would buy it and share some of my thoughts on installation. The controller is made by Sunshine Tipway Electronic Technology Co., Ltd. (STW), a Hong Kong-based company that manufactures computer accessories, and seems to be focused heavily on fan controllers. You can find out more about their products at the company’s website.
Unboxing
The controller I purchased was the STW-ICR-022, a combination fan controller/card reader with an eSATA interface. The box displays a picture of the controller with a list of some of its features:
- 5.25″ standard drive bay design with LCD display for temperature & fan RPM speed information
- 4 fans can be controlled manually and easily
- Overheat alarm to avoid fan stuck
- With eSATA interface, the speed is up to 3GB/s
- All in one card reader
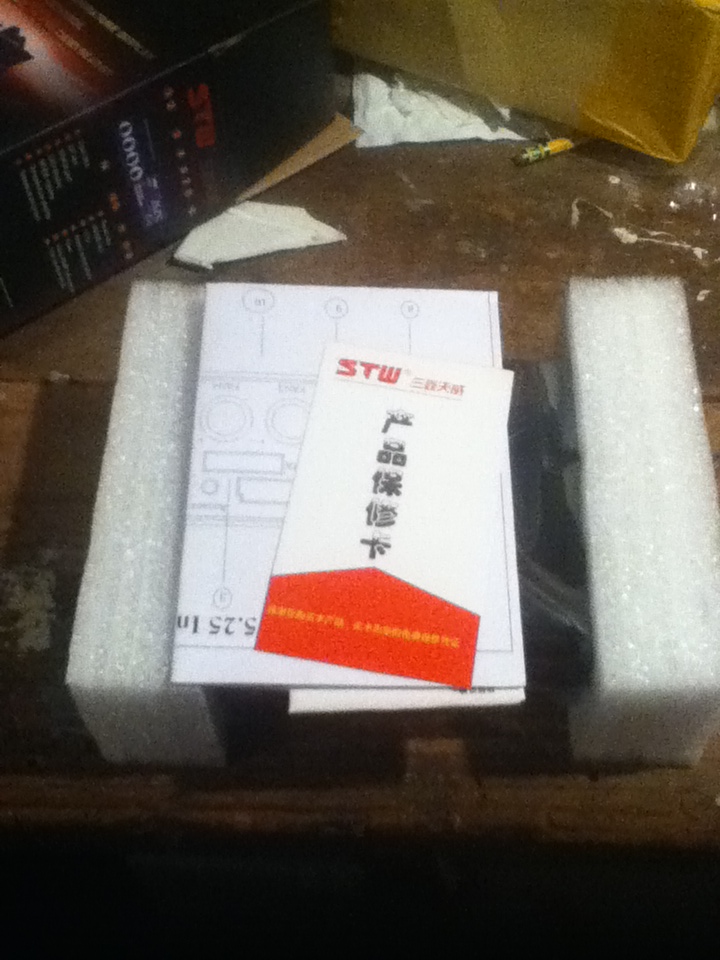
The fan controller and instructions.
I presume the list includes poorly translated English (hence, “easily” instead of “automatically”, and “to avoid fan stuck”). The other side of the box shows the same two photos of the controller, but is written in Chinese. Inside the box, the controller and accessories is contained in an anti-static bag in between two pieces of polystyrene, as shown. Included is a small handout written in Chinese, an instruction manual (also in Chiense), and a big sheet of paper that is the installation guide (in English). Also included are some screws and adhesive tape for the thermal probes in a separate ziploc bag.
Installation of the STW-ICR-022
The fan cables and thermal probes are already connected to the controller. The fan cables can easily be removed to cut down on clutter inside the case if you have fewer than four fans to control. The thermal probes, however, are covered with hot glue, so you’ll have to remove that first if you want to unplug any of the temperature sensors. Installation is easy with the included screws. You will probably want to wait until all the fans are in place and plugged in before screwing in the controller, since the fan headers can easily become unplugged.
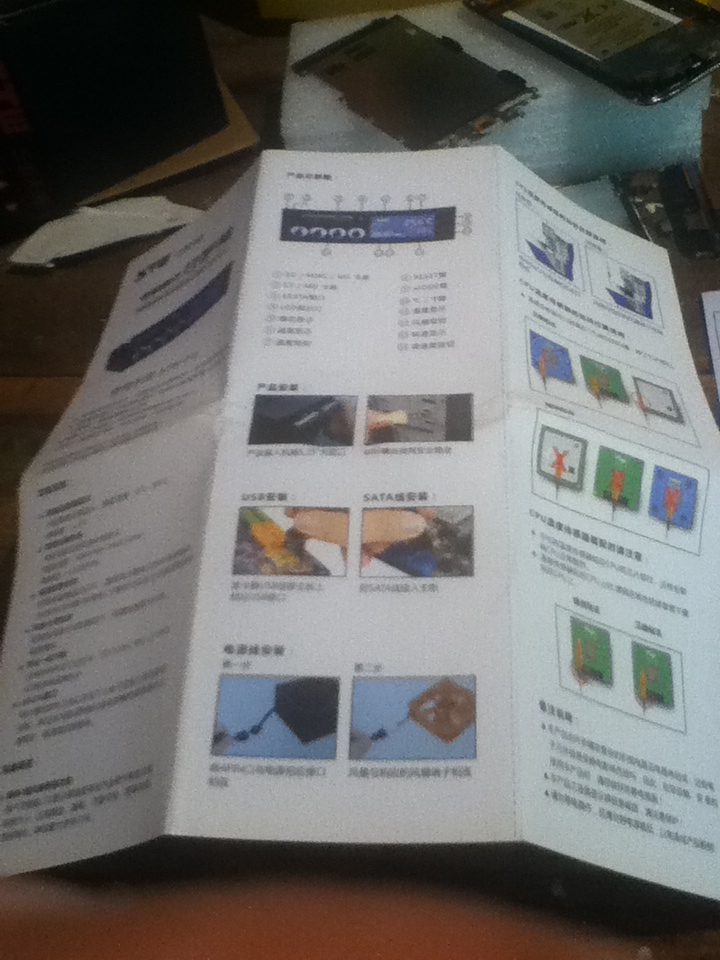
The operating instructions (yes, they are in Chinese).
In my case, I hooked up three fans to the controller: [1] the CPU fan; [2] the rear exhaust fan, and [3] an old CPU fan which I put in the front in order to dissipate some of the heat created by the hard drives. Once the fans were connected, Those who have 4-pin PWM fans will be happy to know that the cables accommodate both 3-pin and 4-pin fans. it was a relatively easy matter to put the thermal probes in the appropriate places. The sticky tape included with the controller proved inadequate, so I used electrical tape. There is also a USB cable for the card reader, and a SATA cable for the eSATA interface.
Testing: The STW-ICR-022 in Action
With the installation complete, I powered up the system. The display cycles through displaying the fan speed and temperature for each channel. There are three buttons on the front panel: “RESET”, “MODE”, and “C/F”. “RESET” is presumably to restore factory settings, although when I pressed this button, it did not seem to have any effect on the settings. “MODE” toggles between manual and automatic mode, and “C/F” toggles between Celsius and Fahrenheit in the temperature display. There are alarms indicating when a fan stops (or is disconnected) and when the temperature of one of the thermal sensors reaches the alarm temperature. The alarm temperature is set by holding down the “MODE” button until the display starts blinking. Pressing the “MODE” again while the display is blinking allows you to select other channels. Pressing the “C/F” button while the display is blinking increases the alarm temperature (the threshold at which the alarm will sound). Once you reach 190° F, the temperature wraps back around to 104° F. Pressing the “MODE” button repeatedly (one cycle through all the channels) will take the controller out of temperature alarm setting mode.
Close-up of the thermal sensors.
I disconnected one of the fans, and sure enough, the fan alarm activated. The controller started beeping, although it stopped beeping after about two minutes. As for the temperature alarm, the controller started beeping when the target temperature was reached. But the speed of the fan on that channel did not increase, even when the controller was in automatic mode, which is what I would have expected to happen. In fact, I’m not even sure what the point of toggling between manual and automatic mode is, since there does not seem to be a way to invoke automatic fan control. Also, the temperature readings seem to fluctuate quite a bit, and while they generally seem to be accurate, the fluctuations are a cause for concern.
I have not tested the card reader or eSATA interface yet, so I cannot evaluate their effectiveness. The specifications on the box, however, report that the throughput on the eSATA interface is “up to 3 GB/s”, which sounds right for eSATA. I have two additional points of contention with this controller. First, the box says “Maximum power output < 10W”. I’m not sure if that means less than 10W per channel or 10W total. If it is 10 watts per channel, this controller will be more than adequate; 10W total, however, makes for a pretty puny controller. Second, there does not seem to be any way of switching off the LED backlight that illuminates the case. This is a small point, but the LEDs generate a good deal of light pollution in a darkened room.
Conclusion
I will post a second article after I have done some more detailed testing on the controller. As of now, however, I cannot endorse this product, for the following reasons: [1] lack of instructions in English; [2] even though the unit is sold as a manual/automatic fan controller, there doesn’t seem to be any way to control the fans automatically. Admittedly, my appraisal of this product is influenced heavily by the lack of instructions in English; if there were clearly-written English instructions (there is a single sheet of paper written in English that explains how to install the unit, and what the buttons and display do), the full functionality of the unit might become obvious. Such instructions were not furnished, however, so I had to try to figure it out myself. If anyone has any experience with this product, and cares to fill in some of the gaps in my knowledge, I would love to hear it.
Specifications:
Dimensions: 14.9 x 8.8 x 2.4 cm
Installation location: 5.25″ drive bay
Power interface: Big 4-pin connector
Fan connector: 3-pin/4-pin
Material: Aluminum-magnesium alloy
Controlled fan: 4 fans
Cable length: 60.0 cm
Maximum power output: < 10W
Contents: 4 screws, manual
Recent Comments